Fiberglass pool builder install trainings.
A fiberglass shell is only as good as the hole it sits in. We teach crews the site work, set, backfill, plumbing, and code details that keep a shell level and watertight for decades.
Who it’s for
Built for the people doing the install.
New dealers
You’ve signed on to sell fiberglass and need a crew that can install it right from the first job.
Installation crews
Experienced hands who want to tighten up leveling, backfill, and bonding, and know the why behind each step.
Builders adding fiberglass
Concrete and vinyl builders adding a fiberglass line. The ground prep is different, and so are the mistakes.
Curriculum
In the order you’ll do it on site.
Each module follows the real install sequence, so the training works as a checklist on your next job.
1
Site assessment
Reading soil, slope, access, and groundwater before you dig. High water tables and sandy clay get special attention.
2
Excavation and base
Dig dimensions, over-dig, and a level, compacted base the shell can sit on without stress.
3
Setting the shell
Rigging, the crane lift, leveling, and checking the shell as it comes down.
4
Plumbing and equipment
Suction and return layout, sizing equipment, and programming variable speed pumps for efficient night schedules.
5
Backfill
Backfilling in lifts while the shell fills, so water and backfill rise together. Most shell problems trace back to this step.
6
Bonding and electrical
Equipotential bonding and NEC Article 680 requirements, done and inspected before the deck goes in.
7
Safety and code
Suction entrapment protection under the VGBA, barriers under the ISPSC, and the ANSI/PHTA/ICC-5 standard for residential in-ground pools.
8
Cover and startup
Automatic cover installation, first fill, and balancing new water with the LSI before handing over the keys.
On site
What happens when we show up.
Training starts the day your first shell is delivered. We’re on site for the set and the backfill, then on the phone while you finish the bond beam and equipment pad. Your crew does the work. We stand next to you and explain each call as it comes up.
Before we arrive
The site should be ready to set a pool when the truck pulls in. We’ll go over this list with you by phone beforehand.
Call 811 and mark underground and overhead utilities
Lay out the site: drainage, pool elevation, coping thickness, and cover tracks
Dig to the dig sheet, down to stable ground, with base gravel leveled and extra on hand for backfill
Safety fence up, permits posted, and any licenses your area requires
Crane, excavator, or lull booked and on site for delivery day
Confirm the delivery date with us at least 72 hours out
What it takes
The schedule below works when the pool arrives by late morning and at least three skilled workers are on the crew. Weather and equipment can move it, and that’s fine. We adjust together.
Day 1 · On site
Set the shell
Final checks, the lift, and the first water.
Final level on the base, square the hole, and set stakes and screed boards
Rig the spreader bar and straps, lift the shell off the trailer, and lower it in
Check level against spec and brace with posts
Cut in skimmers, returns, main drain, and lights, sealed with marine grade silicone to cure overnight
Clean out the shell and add enough water to stabilize it
String straight walls, then start backfilling as the water comes up
Day 2 · On site
Fill and backfill
Water and gravel rise together.
Dig the plumbing trench to the equipment pad
Lay out the pad and build its gravel base
Fill and backfill to about 18 inches from the top
Rough in plumbing and light conduit
Bring gravel to about 8 inches from the top and water to mid-skimmer to support the bond beam
Walk through rebar, bond wire, and the pad plumbing for the next day
Day 3 · By phone
Bond beam and pad
Your crew finishes, we’re a call away.
Tie rebar and bond wire for the bond beam
Form the bond beam
Pass the inspections your area requires
Pour the bond beam and the equipment pad, or set pavers
After that, it’s yours
Set and plumb the equipment, finish grading, make the electrical connections, and get ready for decking and landscaping. You’ll have done one pool start to finish with someone who’s done it many times.
How we teach
Taught by an installer, on real ground.
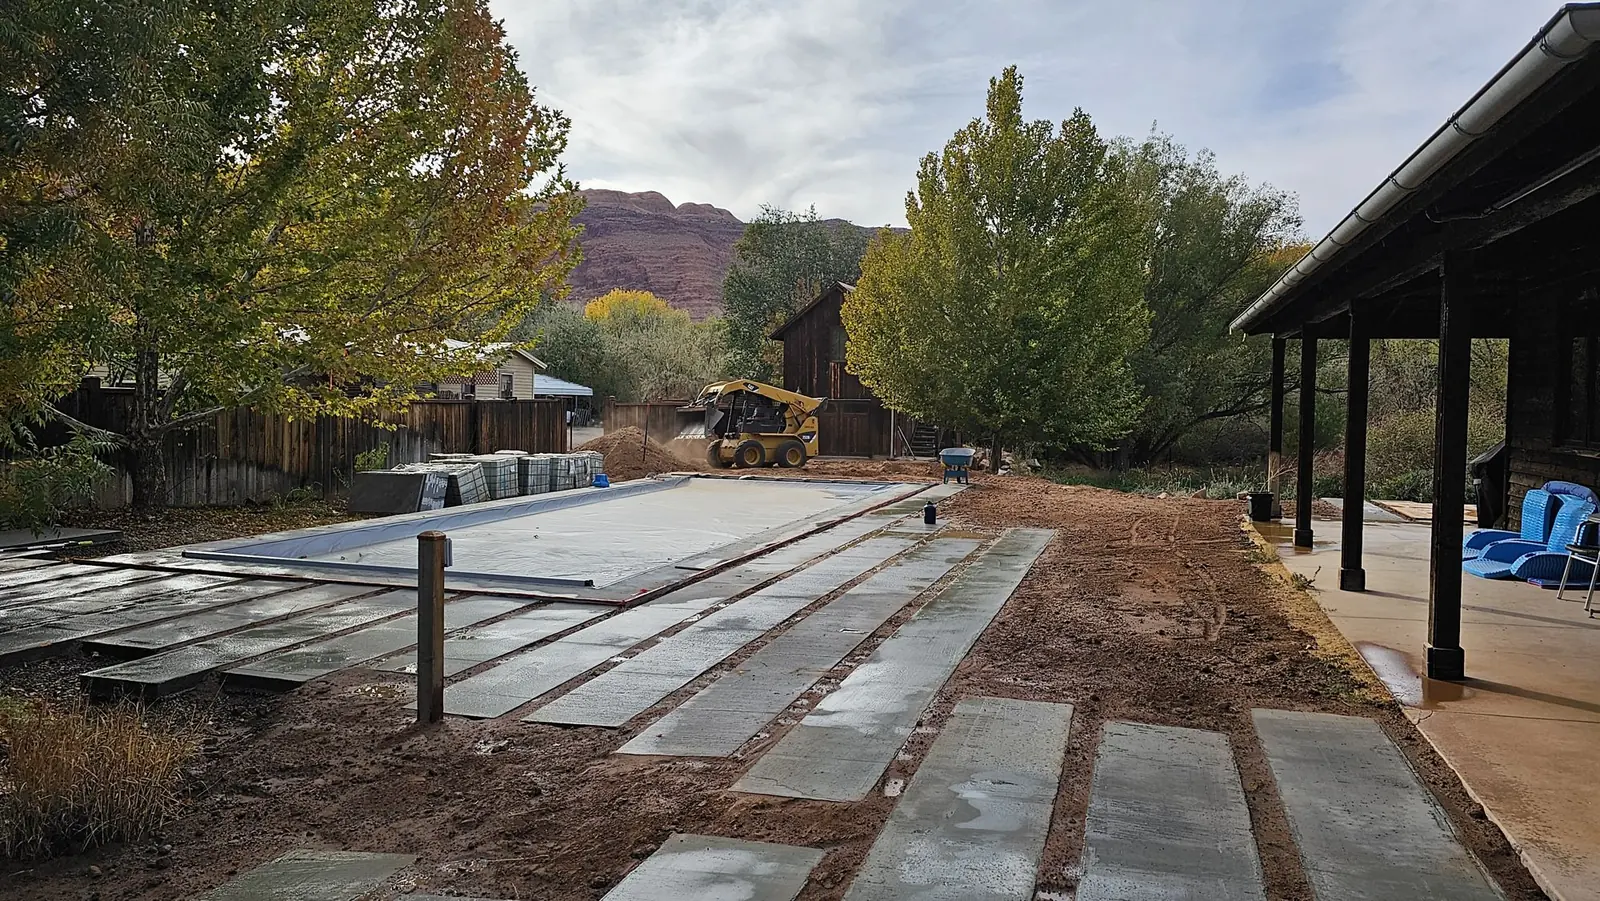
Our trainings are led by Eric, who owns Backspace and works through sandy clay and high water tables on Moab jobs. The methods are the ones we use on our own pools in Moab.
On-site training is booked with your first pool order and runs from delivery day through the backfill, with phone support after. Tell us when your shell ships and we’ll set a date.
Ask about a training